Today, we are back again with another customization trick for Windows 10. This time we will know how to group your taskbar shortcuts. Grouping taskbar shortcuts not just look cool, but it also helps you save some space on the taskbar. You can easily create a group in the Browser taskbar to store all your web browser shortcuts. Similarly, you can create shortcut groups for utility and productivity tools. So, let’s check out the detailed guide on grouping your taskbar shortcut in Windows 10. Also Read: How to Fully Customize the Windows 10 Taskbar
Group Taskbar Shortcuts in Windows 10 PC
We will use the tool ‘Taskbar Groups’ to group Taskbar shortcuts. It’s available on Github for free, and it’s very lightweight. Let’s check out the guide.
First of all, head to the Github link and download the Taskbar Groups.
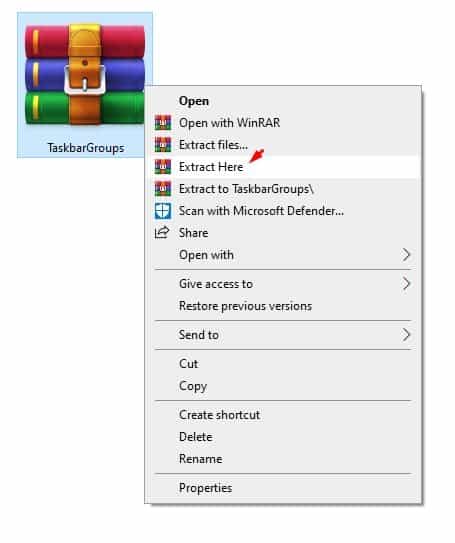
Once downloaded, extract the ZIP file to access the executable file.
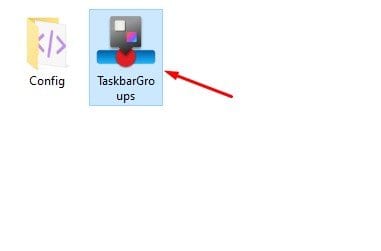
Now double click on the ‘Taskbar Groups.exe’ file.
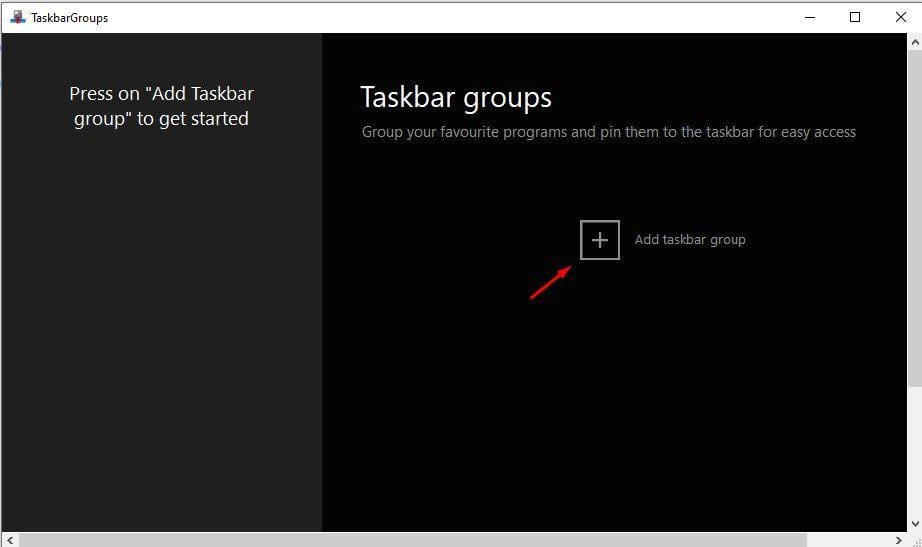
Now, you will see an interface like the one below. Here you need to click on the ‘Add taskbar group’ button.
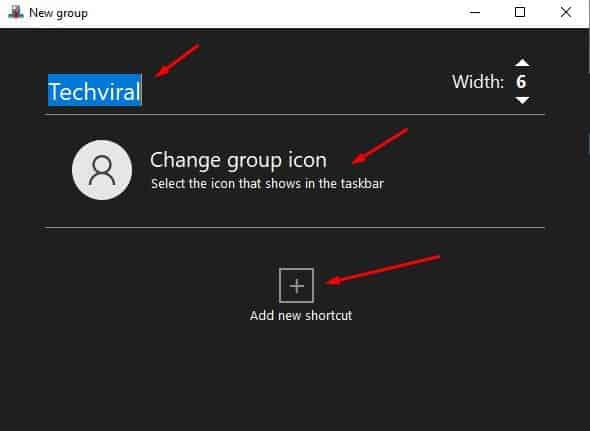
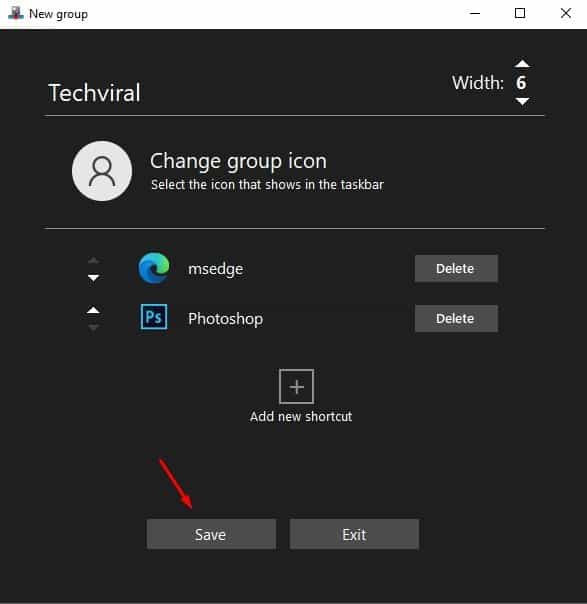
On the next screen, type in the new group.
Now click on the ‘Add group icon’ and assign an icon for the group. This icon will appear in the taskbar.
Next, click on the ‘Add new shortcut’ and select the apps you are interested in adding to the group.
Once done, click on the ‘Save’ button.
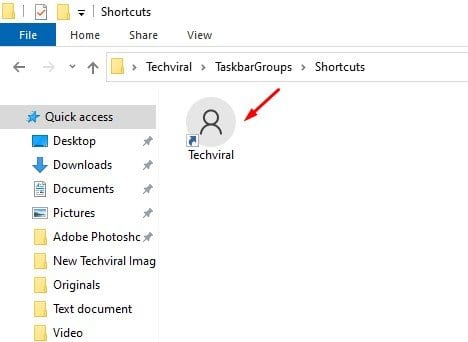
Now access the group you have just created in the Shortcuts folder of the App’s installation folder.
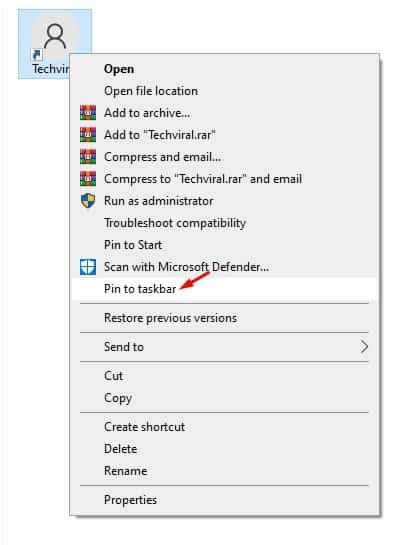
Right-click on the shortcut and select Pin to taskbar.
The taskbar shortcut groups will be pinned to the taskbar.
That’s it! You are done. This is how you can use Taskbar shortcuts to organize the taskbar on Windows 10. So, this article is all about how to group your Taskbar shortcuts in Windows 10. I hope this article helped you! Please share it with your friends also. If you have any doubts related to this, let us know in the comment box below.
