Although you can fix most Windows 11 problems, the drive errors can stress you out. Recently, many Windows 11 users have reported getting an unusual ‘Scan drive for errors’ notification by the Security and Maintenance component. The ‘Scan drive for errors’ notification doesn’t pinpoint any specific drive you should check, nor does it tell anything about the problem. Therefore, you need to try different troubleshooting methods to find & fix the problematic drive. Also Read: How to Find Available Memory Slots on Windows 11
3 Best Ways to Fix the ‘Scan Drive for Errors’ Notification on Windows 11
So, if you constantly get the ‘Scan drive for errors’ notification on your Windows 11 computer, you have landed on the right page. Below, we have shared a few best ways to fix the Scan drive for error in Windows 11. Let’s get started.
1) Run the CHKDSK Scan via CMD
To fix all types of hard drive-related problems, you need to run the CHKDSK scan. There are multiple ways to run the chkdsk command; the easiest is using the command prompt. Here’s how to run the Chkdsk command via Command Prompt.
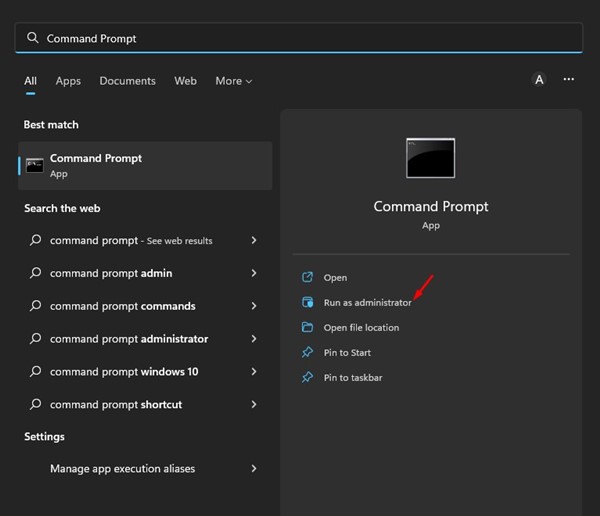
Click on the Windows 11 search and type in Command Prompt. Next, right-click on the Command Prompt and select Run as administrator.
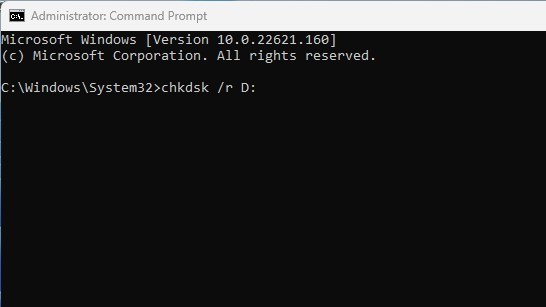
On the Command prompt window, execute the command: chkdsk /x:
Important: Replace x with the name of the drive you want to scan. 3. Now, wait for a few seconds until the scan completes. Once completed, you need to scan the hard drive for bad sectors. For that, execute the command: chkdsk /r x:
Important: Replace x with the name of the drive you want to scan. That’s it. This will force check disk utility to find and fix any drive-related problems on your Windows 11 computer.
2) Run the Check Disk utility via File Explorer
If you found the command prompt method complicated, you can run the CHKDSK utility right from the File Explorer of Windows 11. For that, follow some of the simple steps we have shared below.
First, open File Explorer on your Windows 11 PC.
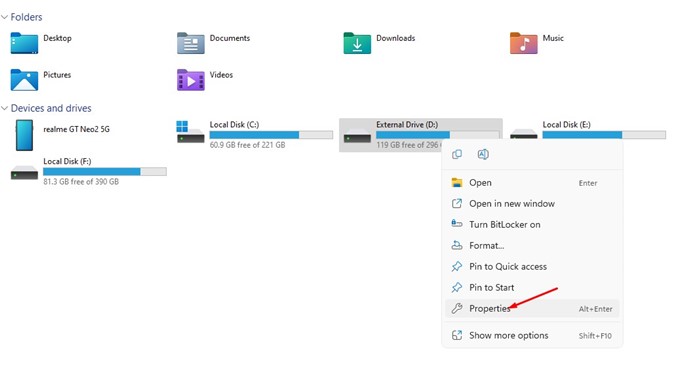
Now, right-click on the drive you want to scan and select Properties.
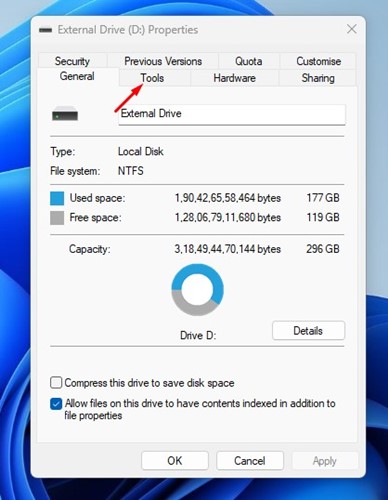
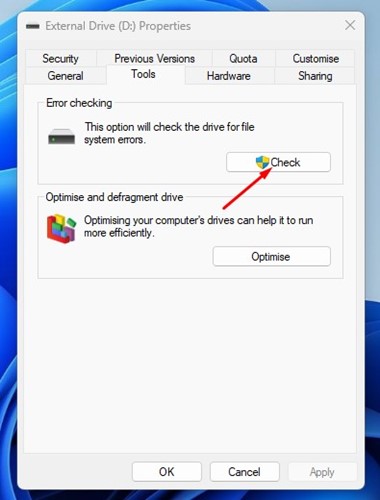
On the Drive Properties, switch to the Tools tab as shown below.
Underneath Error-checking, click on the Check button.
That’s it. This will run the check disk utility on your Windows 11 computer. You need to wait for a few seconds until the scan completes. Once completed, restart your computer.
3) Run Antivirus/Malware Scan
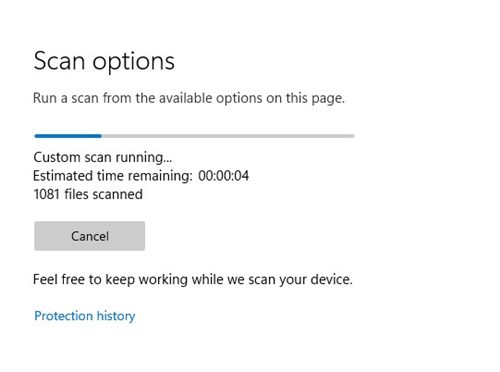
Sometimes, malware or viruses also create problems with hard disk drive workability. Hence, if the chkdsk command fails to fix your problem, you must run a full antivirus scan.
If you don’t have an antivirus program, you can use the Windows Security app to run a full virus scan. Or else, you can download & install third-party antivirus software to find and remove viruses, malware, PUPs, and keyloggers from your PC.
4) Run a SMART Test
Well, with the S.M.A.R.T test, you will be able to know whether your hard drive is dying. S.M.A.R.T stands for Self Monitoring, Analysis, and Reporting Technology, and it tells you about the condition of your hard drive. Here’s how to run the SMART test in Windows 11.
Click on the Windows 11 search and type in Command Prompt. Right-click on the Command Prompt and select Run as administrator.
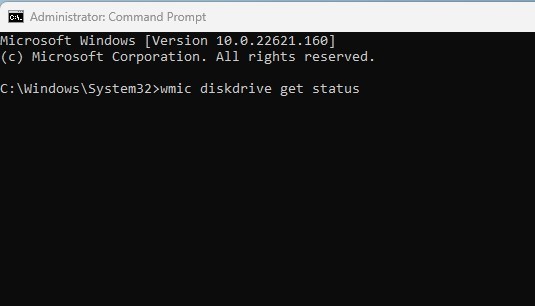
On the Command Prompt, type in the command and hit the Enter button. wmic diskdrive get status
The SMART test will return with a Status result. If the status shows Ok, your hard drive has no problem. However, if it returns with BAD or Unknown status, it indicates a failing hard drive.
That’s it. This is how you can run the SMART test in Windows 11. If you got the BAD or Unknown in the SMART test, you need to get your hard drive checked by a professional.
5) Perform a system restore
If Windows 11 still throws a ‘Scan Drive for Errors’ notification after following all the above methods, you need to perform a system restore. System Restore will probably replace the corrupted system files & incorrect settings, which might fix the problem for you. However, you can perform a system restore only if you’ve set up automatic system restore points. If your Windows 11 PC already has a system restore point, you must follow these steps.
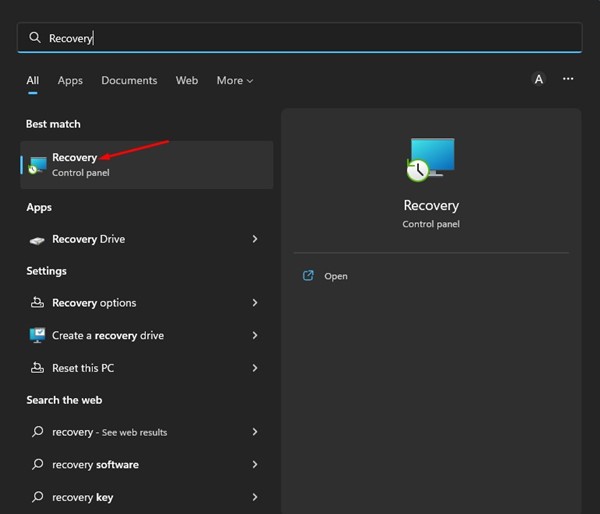
Click on the Windows 11 search and type in Recovery.
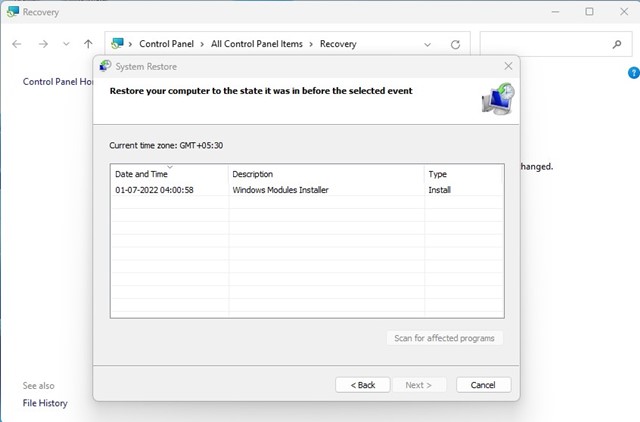
On the Recovery app, click on the Open System Restore link.
On the System Restore Window, select the Restore point you want to use.
On the next screen, click on the Finish button. That’s it. This will roll back your Windows 11 to the back date. Also Read: How to Schedule Automatic System Restore Points in Windows 11 So, these are some of the best ways to fix the ‘Scan Drive for Errors’ notification on Windows 11. If you know any other ways to fix the problem, let us know in the comment box below.