So it’s always better to adjust the computer display according to the light around you. So here we have a solution that will automatically change the screen brightness according to the time of day and the location. Let’s have a look at the complete guide discussed below to proceed.
Adjust Brightness Automatically
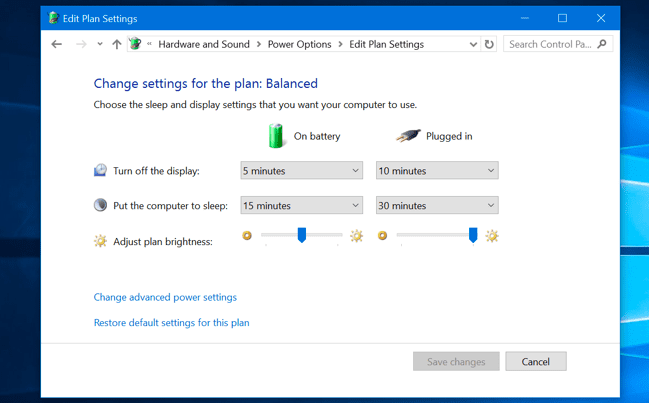
Well, Windows 10 operating system brings some new sets of options to adjust the brightness of laptops automatically. For example, you can set it to a high brightness when your laptop is plugged in and low brightness when it is running on battery power.
You must head to the Control Panel > Hardware and Sound > Power Option > Change Plan Settings. You need to set the different screen brightness levels for ‘On Battery’ and ‘Plugged In’ under the Adjust Plan Brightness.
Adjust Brightness Automatically Based On Ambient Light
If we look around, we will find that modern laptops come with ambient brightness sensors, just like smartphones. The feature automatically increases your screen brightness when you are in a bright area and decreases it when you are in a dark place. To enable the Ambient Light Feature, you need to browse to Settings > System > Display and then enable the ‘Change Brightness Automatically when lighting changes’ option.
This will probably enable the Ambient light features, and your laptop’s display will adjust brightness on its own.
Using F.Lux Software
The method is straightforward and depends on the software that can set the time periods to easily alter the screen brightness. You have to follow the below steps to proceed.
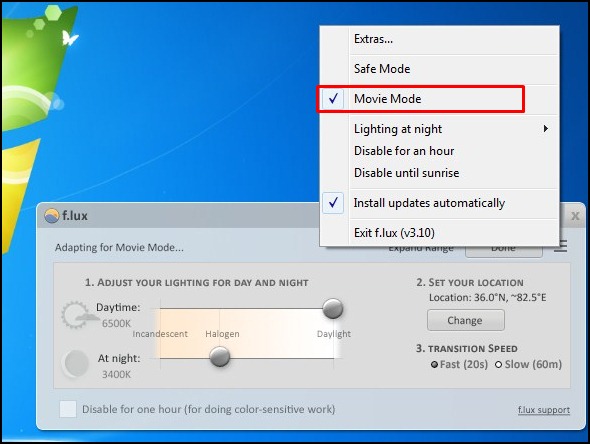
First of all, download and install the f.lux software on a computer. Now after installation, launch it on your computer.
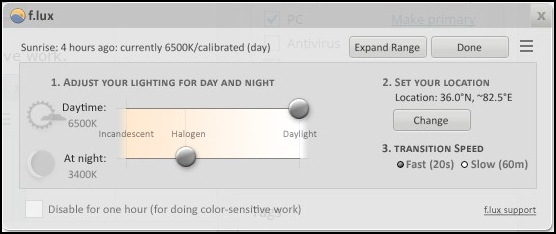
Now it will automatically detect the time and geographical location and will best set your screen color.
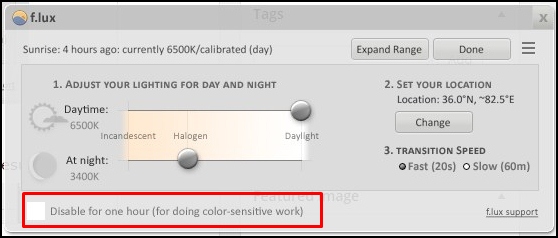
You can untick the Disable for one hour option if you want to do color-sensitive work.
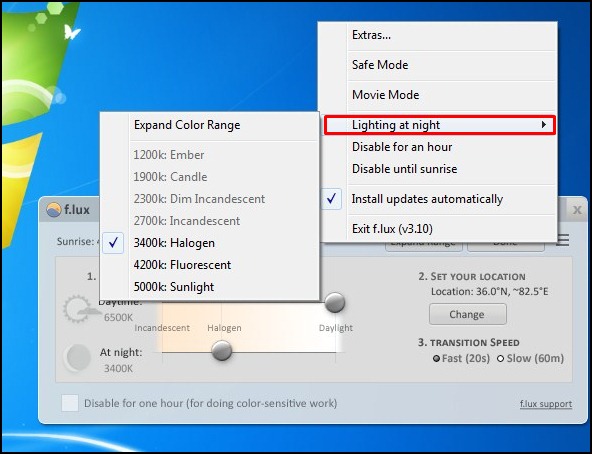
Also, you can adjust the Lightning for day and night in the Tool Settings.
This tool can also set the movie and other modes for the best result.
That’s it! Now your PC will automatically adjust brightness and color according to time and geographic location and protect your eyes. Use this tool and protect your eyes from the UV rays from your PC’s screen.
Using RedshiftGui
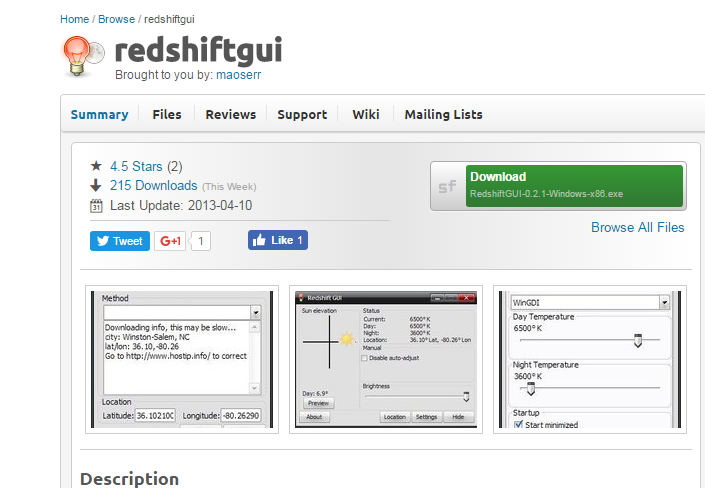
Redshiftgui changes the color temperature of your monitor to better match that of your surrounding. This means a cooler temperature during the daytime (due to natural lighting), and a warmer temperature at night (due to indoor lighting).
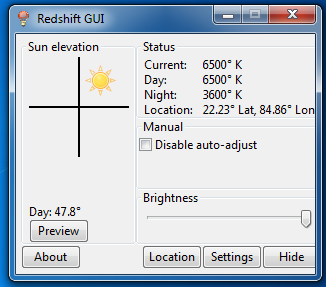
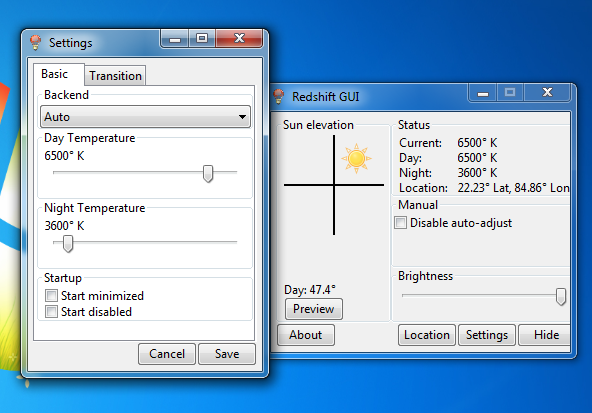
First, download and install RedshiftGUI on your Windows computer and launch it.
You will see the screen below.
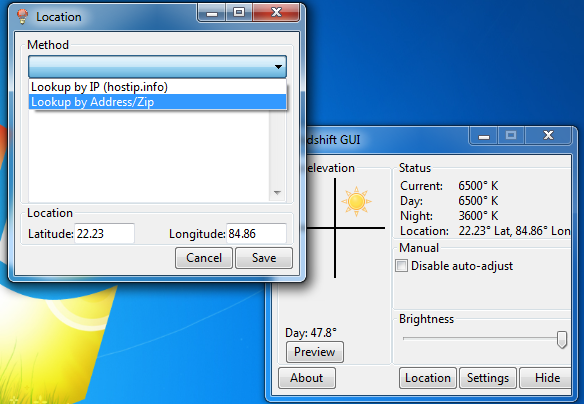
Now you need to click on the location and select the location method. Choose your location and hit the save button.
You can then click on settings to select the Day and night temperature.
That’s it! Now your computer screen brightness will automatically adjust according to your location.
Using Iris
Well, Iris is another great Windows tool that you can use to reduce eye strain and insomnia. The great thing about Iris is that it’s available on almost all major platforms, including Linux, Mac, Android, and Windows. So, in this method, we will use Iris Micro to adjust brightness automatically based on the time.
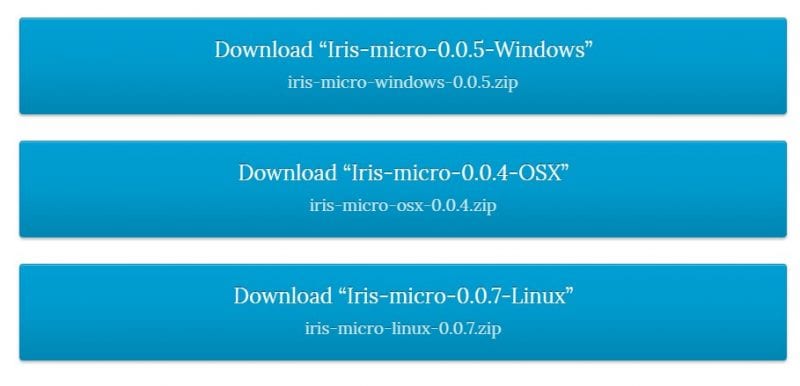
First of all, visit iristech from here. Now you will see the Iris Micro homepage. You need to download Iris micro for Windows.
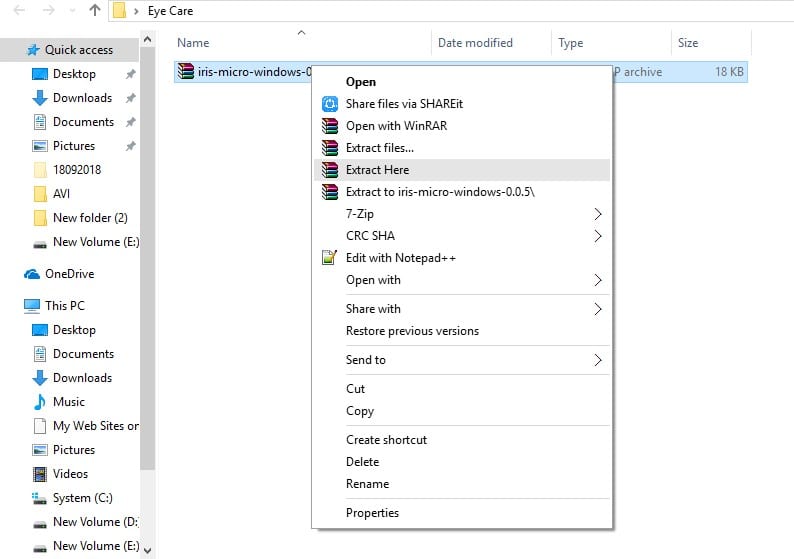
Now you will get the Iris Micro Zip file. Right-click on the zip file and extract it.
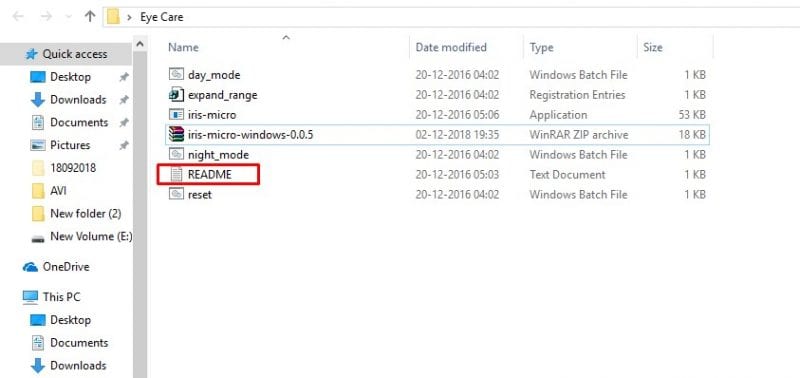
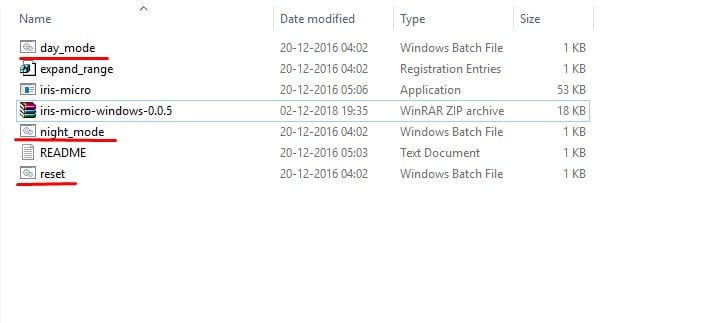
Once extracted, you will see lots of files. You need to click on the Readme text file to know how to use the app.
You need to use the three batch files named day_mode, night_mode, and reset to change the brightness.
You can’t control the brightness level of iris Micro. However, if you don’t like the filter mode, open the ‘reset’ batch file to revert the colors. That’s it! This is how you can adjust the brightness based on the time of the day. If you have any other doubts, then make sure to discuss them with us in the comment box below. So, this is how you can automatically adjust your computer screen brightness based on the time of the day. If you are stuck somewhere in the steps and need help, let us know in the comments below.
